Lighting gives games a more professional look. I wanted to introduce a simple lighting system to light blocks and entities. The lighting ideas are mostly based on the game Starbound.
Background
I have very little knowledge about computer graphics and shaders and had to find an easy method for lighting tiles depending on light propagation; I found two resources.
The first one is a very explanatory blog post about how light diffusion works and some tricks to achieve it. But I couldn’t think of implementing it with just that information.
Then, I saw the second one. A video explaining how, in a very simple way, you could create a light map and then plot the light on top of the drawings without using shaders.Solution Overview
Light map
The video shows a very CPU intensive way of calculating color mixes and graphics logic that could be sped up by relying on the GPU. This made me thought about actually doing a lighting map as a texture, and rely on the GPU for all the mixing and blurring.
Once calculated the light map, we need to plot it to the screen. To do so, we need to generate a new texture and render all the tile lights. To apply the lights, we will use the blend multiply mode, so black tiles will be render black and white tiles should be render as normal. The more dark the tile in the light map, the darker it will look.
Light propagation
The main problem to solve was how to propagate light. As both resources mention, one of the best ways to simulate light propagation is by using BFS, as it reduces considerably the number of tiles repeated (not like DFS). Also, it is a very realistic approach as light tends to propagate like a fluid (instead of flowing, bouncing on surfaces). BFS achieves this realistic effect as it can simulate a fluid (color) flow by reducing the color intensity on each step.
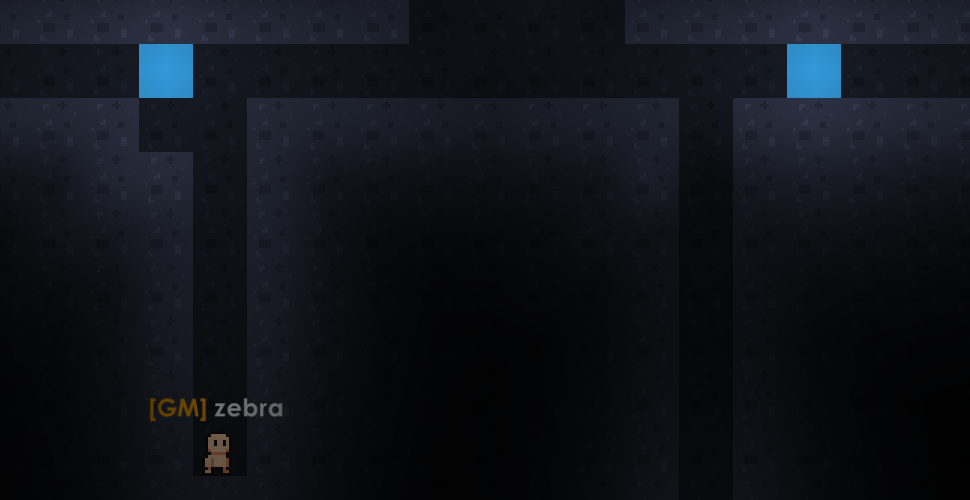
This effect looked blocky at first, because the texture I was drawing the lights to was the real size of the map. I tried to use multiple shaders to try to blur the shadows’ transitions, but they still looked blocky.
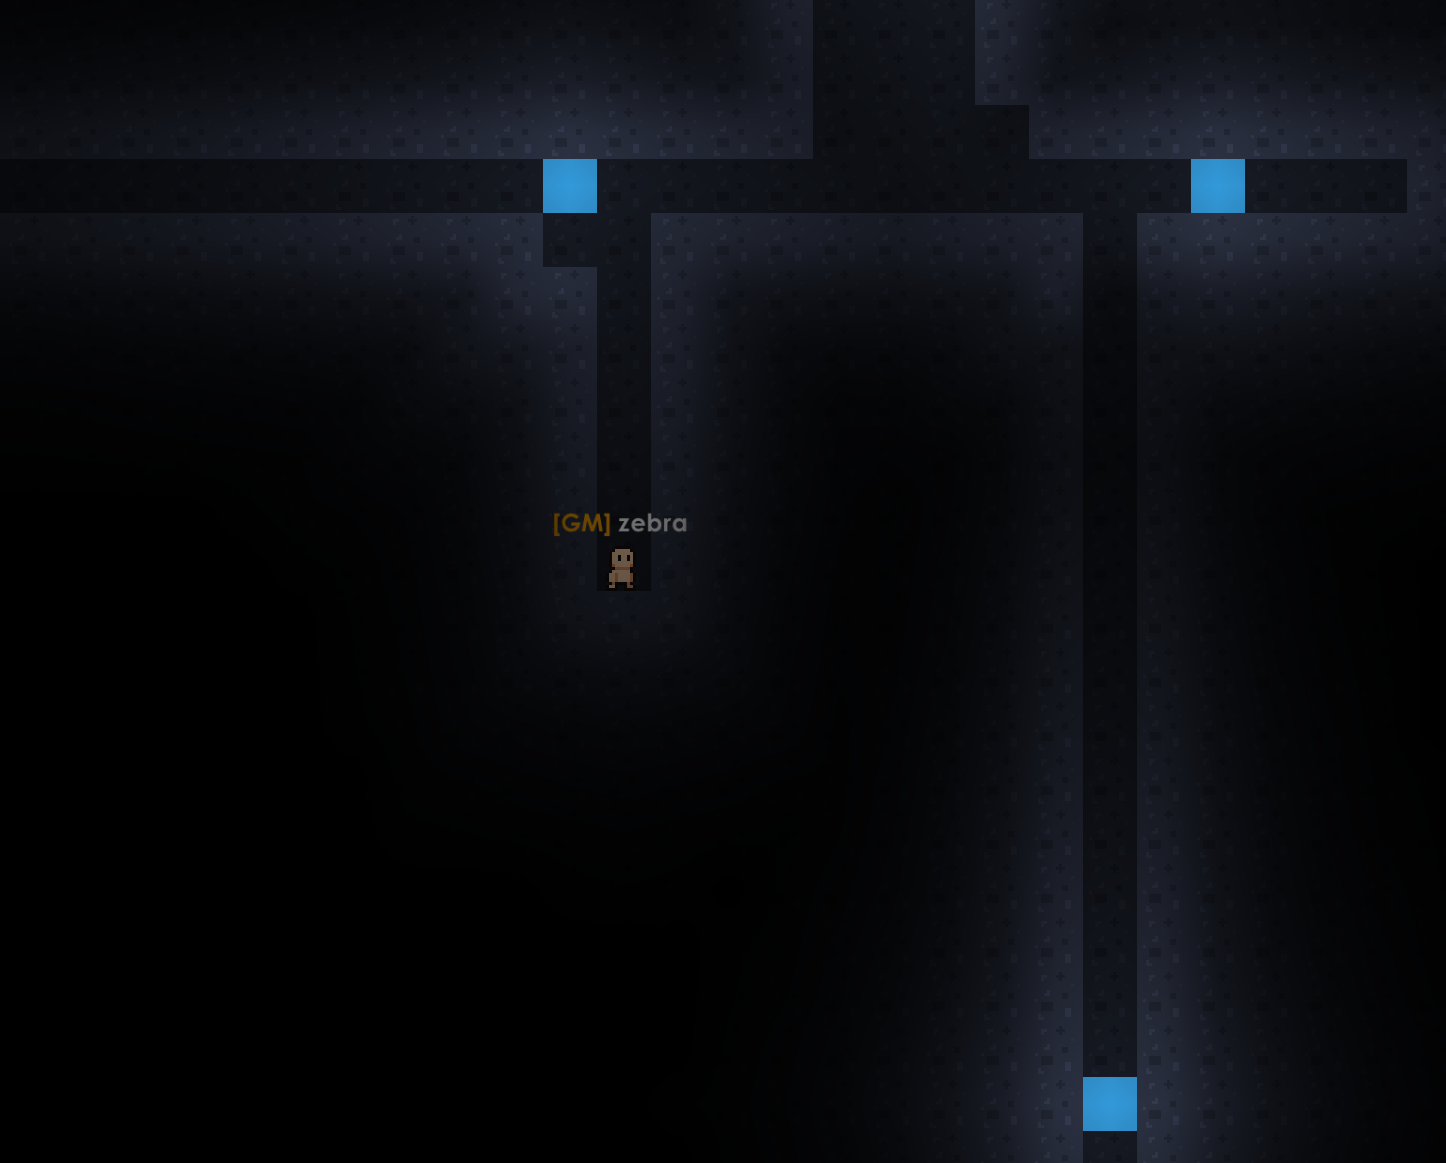
So I came up with the solution of relying on the GPU again. When you resize a texture, you can do it with a nearest neighbour mode to keep the pixel-ness of the texture, but it can also be used the opposite way. One of the best ways to get a very neat blur on a texture is by scaling it with a linear mode.
Make sure to enable clamp mode when you resize the texture, or there could be artifacts on the drawing.
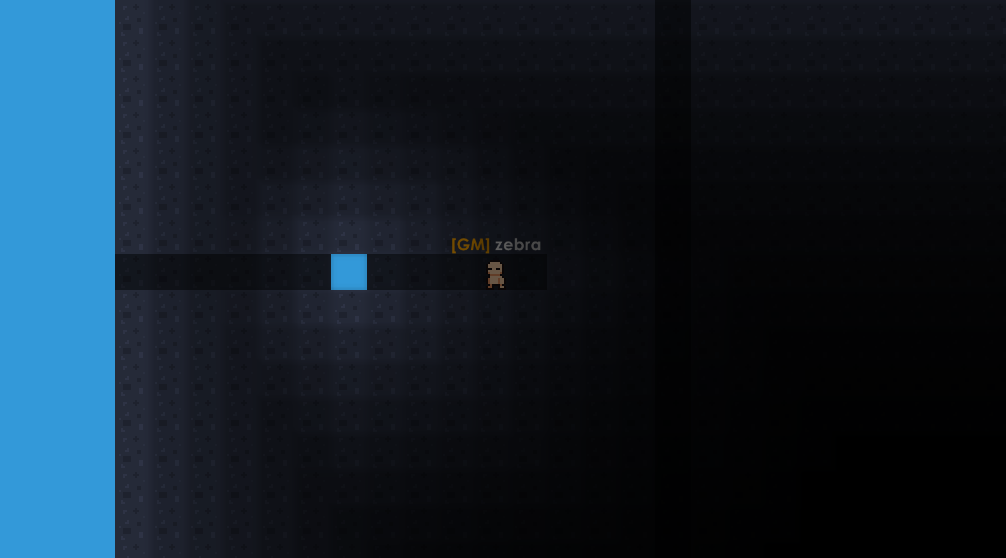
Light diffusion
Wait… The second picture looks so much more realistic. How is that possible?
Well, a very important step to achieve a realistic feel in your lighting system comes from how well you diffuse light. Light diffusion is a natural phenomena that is easy to contemplate, just turn on a light in the middle of a room; not all the room will be lighted the same way.
Light also has some obvious problems to pass through objects that are not transparent. It also has some kind of “friction” (not the best term but it does the job).
This friction or drop-off can be modeled such as the light loses strength when propagating (mentioned in the previous part) and, when it passes through a block, it increases a lot.
Intensity of lights
We got a very simple lighting system working. But it shouldn’t be very hard to implement different light properties. In this example, we will be implementing light intensity.
Light intensity (or at least how I called it) is the property of light to expand more. A very intense light may light a whole stadium, but a low intensity light may not be able to even light your hand. This is a cool property to implement in order to have glowing blocks of all kinds.
Let’s think about magma or lava blocks. Lava emits light, enough to light its surroundings. But magma is rocks and lava mixed, so it should emit a timid light. This is where light intensity concept comes.

By modifying the lighting system to propagate the original light’s intensity in each step of the BFS, we can multiply the intensity and the light drop-off; meaning that a lower light intensity would increase the drop-off, making it harder for the light to propagate.
Conclusion
I thought that a light system would be a very shader intensive task but with the light map texture trick, a 2D block lighting system can be easily implemented with just a queue and a bunch of multiplications.
It is also important to note that none of those light calculations are happening in the same thread of the game, as games require its main thread to run as fast as possible (in order to update and draw correctly).
Of course it is not the best lighting system you’ve ever seen. There are more topics to explore in order to implement a more professional lighting system, such as sprite normal maps (to give sprites a feel of 3D lighting), color mixing techniques and even ray casting.